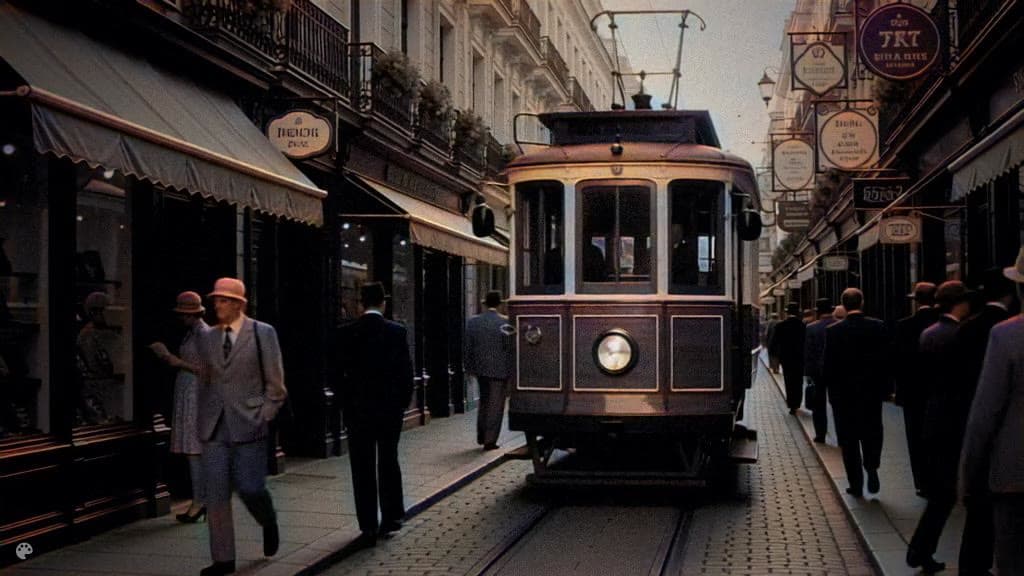
How do you colorize an old home movie?
Upload the clip, pick the colorization tool, and download the result — the AI adds colour to every frame and keeps the original audio. A five-second preview is free and needs no account. Clips up to five minutes are supported, a short one finishes in under a minute, and a full five-minute film takes about half an hour.
That is the short version. Below is what actually matters when the footage is your family's, not a test file.
Before you upload: get the best source you can
Colorization invents colour from what it can see. Every bit of detail you lose before the AI touches the file is detail it has to guess. In order of impact:
- Digitise at the highest resolution your capture device offers, even if the tape is standard definition. Upscaling later works better from a clean 576p than from a re-compressed 360p.
- Do not sharpen or denoise before colorizing. Aggressive denoise removes grain, and grain carries edge information the model uses to separate objects.
- Keep the original file. Always colorize from a copy. You will want to try again.
Step by step
- Open the video colorizer and drop the file in. No account needed for the preview.
- Watch the free five-second preview. It carries a watermark and it is there for one reason: to let you judge the colours before you pay anything.
- If the result looks right, run the full clip. It costs 10 credits, and credit packs start at $1.49.
- Close the tab if you want. We email a link when the job is done.
Why the colours do not flicker
Frame-by-frame colorization has one classic failure: each frame is coloured independently, so a shirt shifts from blue to grey between frames and the whole clip shimmers. We smooth chrominance across a five-frame window and take luminance from the original frame, so brightness detail stays sharp while colour stays stable. Measured on our test footage, flicker drops from 7.63 to 2.83, where naturally shot colour footage sits at 3.81 — in other words, steadier than real film.
The window also resets on scene cuts. Without that reset, colour from the previous shot bleeds into the first frames of the next one, which is very visible on hard cuts.
What this will not do
Worth saying plainly, because it changes what you should expect:
- It guesses colour, it does not recover it. The model infers plausible colour from scene context. If your grandmother's dress was green and nothing in the frame implies green, it may come out blue. For family memories that is usually fine. For archival or forensic provenance it is not.
- Clips longer than five minutes are rejected. Split longer films into parts.
- Damaged frames stay damaged. Colorization is not restoration — tears, heavy scratches and missing frames need a different pass.
What to do next with the file
Colour is usually the first step, not the last. Two things are worth doing after:
- Upscale the video if it came off a standard-definition tape.
- Restore faces if the people in it are soft or blurred — that pass targets faces specifically and leaves the rest of the frame alone.
How much does it cost?
The preview is free. A full clip is 10 credits. Credits are bought once in packs starting at $1.49 for 10 credits, stay valid for 12 months, and there is no subscription. If a job fails, the credits go back automatically.